GitLab과 Terraform Pull Request 과정을 자동화해주는 Atlantis를 활용하여 스터디 간 Terraform 코드에 대한 변경 이력 관리와 협업을 위한 GitOps 환경을 구축합니다.
Pull Request(PR)란?
코드 변경 사항에 대한 branch를 생성하여 팀원들에게 검토 후 main branch에 병합을 요청하는 절차
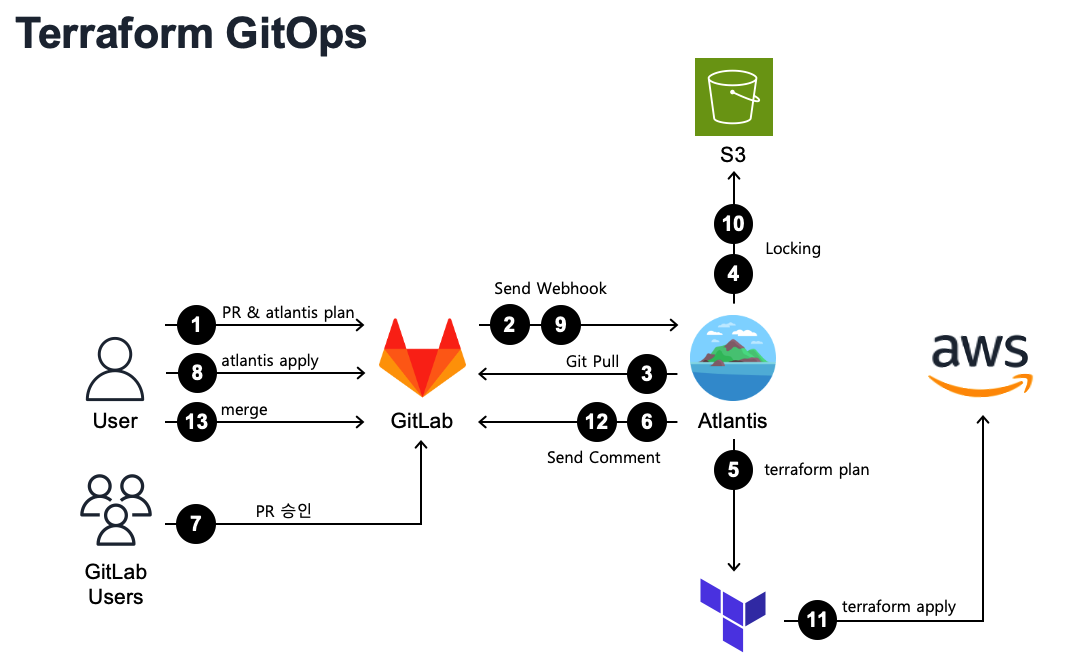
Terraform GitOps Workflow
구성할 GitOps 환경의 Workflow를 그려보았습니다.
GitLab
GitLab은 지속적 통합/지속적 배포(CI/CD) 및 협업을 위한 여러 기능들을 제공하는 웹 기반 DevOps 플랫폼입니다.
GitLab Community Edition은 오픈소스로 무료로 사용할 수 있고, SaaS형이 아닌 자체적으로 설치(Self-Managed)해서 사용할 수 있기에 선택하게 되었습니다.
설치 사양
GitLab 설치에 필요한 최소 사양은 CPU 4Core + Mem 4GB 이상으로, 이에 맞게 Spec을 산정하여 생성합니다.
- Instance Type : t3a.xlarge(4C/16M)
- AMI : Amazon Linux 2 (kernal 5.10.179-171.711.amzn2.x86_64)
- Storage : 30GiB
설치 방법
설치는 GitLab Docs를 참고하여 진행했습니다.
EC2 Instance 생성 시 설정한 보안그룹에 SSH 및 GitLab 접속을 위한 보안그룹 규칙을 설정합니다.
![image-20230713202810944]()
GitLab Instance에 Elastic IP를 할당합니다.
![image-20230715182553036]()
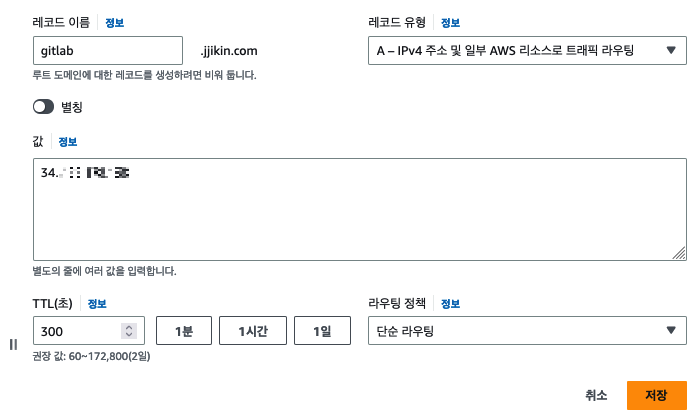
Route53에서 GitLab에 사용할 레코드를 생성한 후 Elastic IP로 라우팅하도록 설정합니다.
![image-20230713201840303]()
- GitLab Instance 접속 후 GitLab 설치를 위한 패키지 저장소를 추가합니다.
1
curl https://packages.gitlab.com/install/repositories/gitlab/gitlab-ce/script.rpm.sh | sudo bash - Route53에서 추가한 레코드와 root의 초기 패스워드를 환경변수로 추가하여 설치합니다.
(패스워드 미설정 시 설치 완료 후 /etc/gitlab/initial_root_password에서 확인해야합니다.)1 2
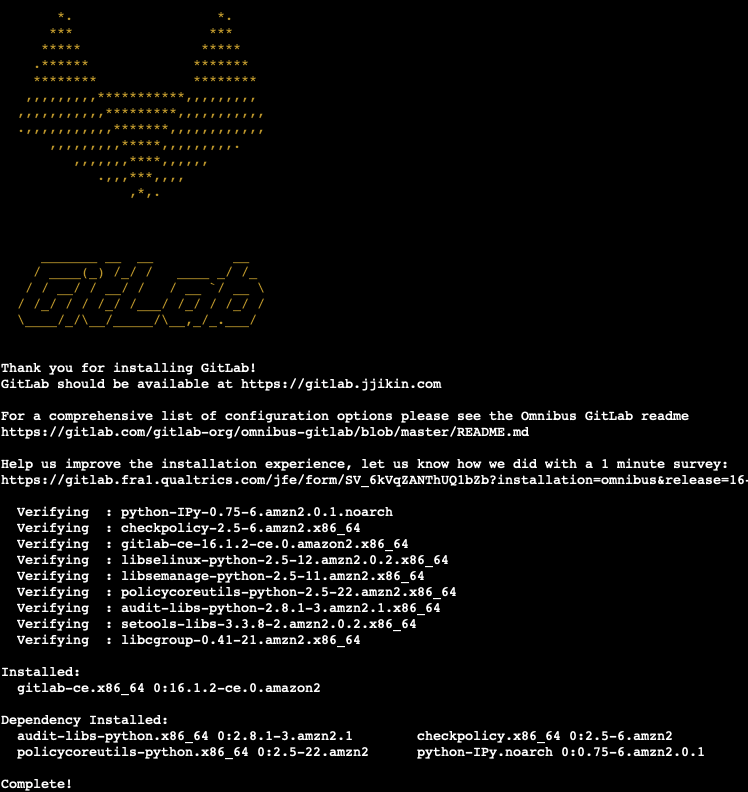
sudo yum update sudo GITLAB_ROOT_PASSWORD='패스워드 입력' EXTERNAL_URL='https://gitlab.jjikin.com' yum install -y gitlab-ce
설치 완료까지 약간의 시간이 소요됩니다.
![image-20230715182731486]()
설정한 도메인 주소와 계정 정보로 GitLab에 접속합니다.
![image-20230713211140295]()
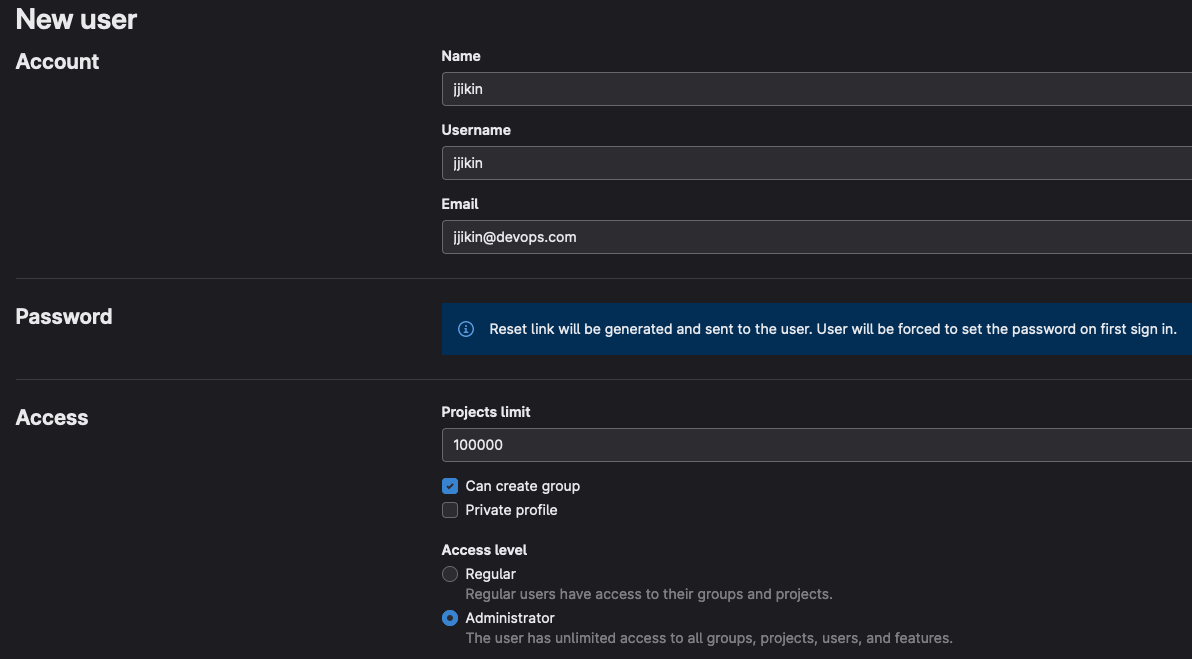
사용할 신규 User를 생성한 후 로그인합니다.
![image-20230713211815781]()
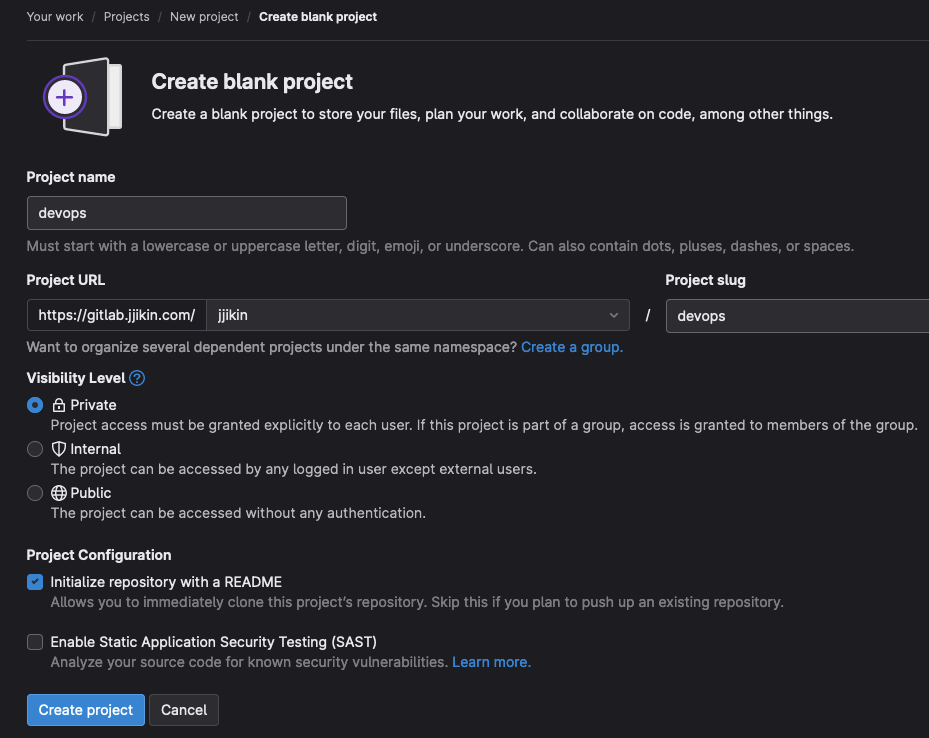
- Private Project를 생성합니다.
![image-20230713212228814]()


Atlantis 연동을 위한 사전 설정
Atlantis에서 GitLab API 호출을 위한 Access Token을 생성합니다.
프로젝트 선택 - Settings - Access Token에서 아래와 같이 입력 후 토큰을 생성하면 상단에 토근값이 출력되며 기록해둡니다.![image-20230713215855683]()
Secret 생성
GitLab으로부터 수신한 Webhook이 올바른 요청인지 확인하기 위한 Secret Token을 생성해야합니다. 공식 문서에서 제공한 링크에서 아래 설정으로 Random String을 생성합니다.Format : a-zA-Z mixed case
Length : 32~128
String에 특수문자가 있거나 28문자보다 짧을 경우 400 Error(Unauthorized & did not match expected secret)가 발생할 수 있습니다.
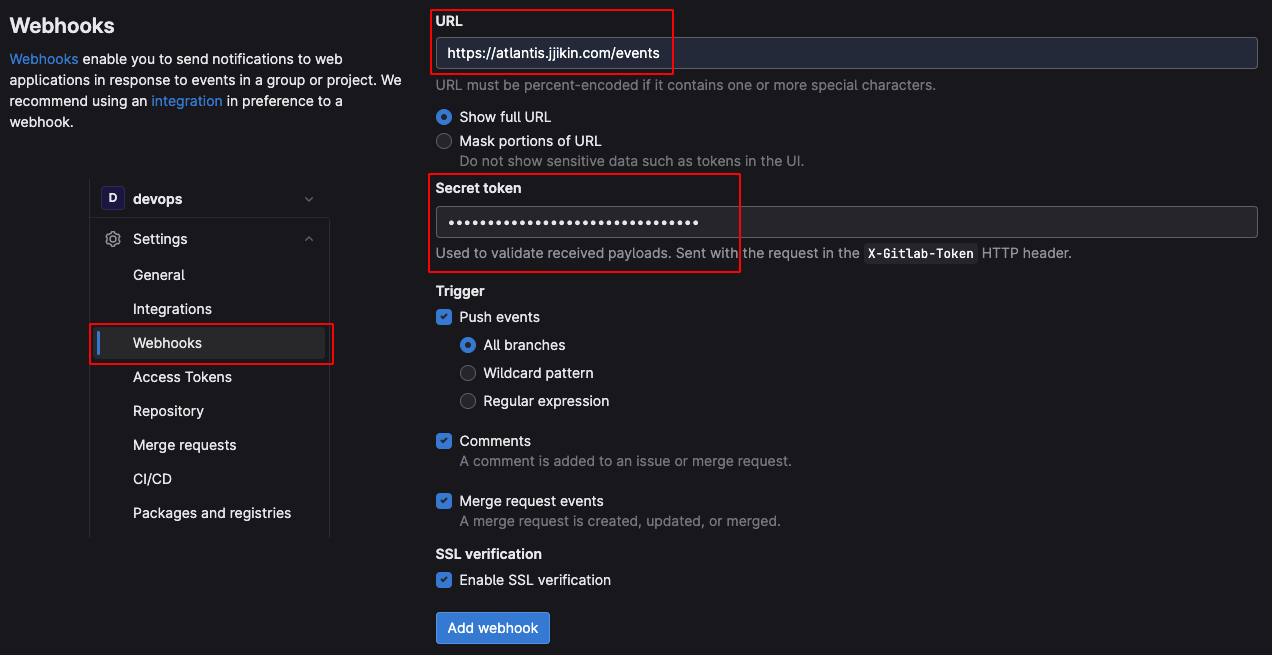
Webhook 설정
생성한 Secret Token을 포함하여 Webhook을 보낼 Atlantis URL과 트리거를 입력합니다.![image-20230715194410691]()

Atlantis
Atlantis는 Pull Request를 통해 Terraform Workflow를 자동화해주는 오픈소스 Tool입니다.
앞으로 진행될 스터디에서 팀원들 간 EKS를 구성하는 Terraform Code의 관리와 협업을 위해 꼭 필요한 툴이기에 선택하였습니다.
설치를 위한 사전 설정
Atlantis는 PV를 사용하므로 ebs-csi-driver Add-on 설치가 필요합니다. 아래와 같이 코드 추가 후 재배포 합니다.
1
2
3
4
5
6
7
8
9
10
11
12
13
14
15
16
17
 # eks.tf
 module "eks" {
   source  = "terraform-aws-modules/eks/aws"
   ...
   cluster_addons = {
     coredns = {
       most_recent       = true
       resolve_conflicts = "OVERWRITE"
     }
     ...
     aws-ebs-csi-driver = {  # 추가
       most_recent = true
       service_account_role_arn = module.ebs_csi_driver_irsa_role.iam_role_arn
     }
   }
  ...
 }
1
2
3
4
5
6
7
8
9
10
11
12
13
14
15
16
17
 # IRSA Module 추가
 module "ebs_csi_driver_irsa_role" {
   source = "terraform-aws-modules/iam/aws//modules/iam-role-for-service-accounts-eks"

   role_name                     = "${local.name}-eks-ebs_csi-role"
   policy_name_prefix            = "${local.name}-eks-"
   attach_ebs_csi_policy = true

   oidc_providers = {
     main = {
       provider_arn               = module.eks.oidc_provider_arn
       namespace_service_accounts = ["kube-system:ebs-csi-controller-sa"]
     }
   }

   tags = local.tags
 }
설치 방법
Atlantis는 EKS 내 helm chart를 통해 배포할 예정이며, Atlantis Docs를 참고하여 진행했습니다.
- helm에 runatlantis helm 차트 저장소 추가
1
helm repo add runatlantis https://runatlantis.github.io/helm-charts
- Access Token, Secret 설정을 위한 values.yaml 생성
1
helm inspect values runatlantis/atlantis > atlantis_values.yaml
atlantis_value.yaml 파일을 수정합니다.
- Webhook를 허용할 리포지토리를 입력합니다.
1
2
 # Replace this with your own repo allowlist:
 orgAllowlist: gitlab.jjikin.com/jjikin/devops  # {hostname}/{owner}/{repo}
- GitLab 연동을 위한 정보를 입력합니다.
1
2
3
4
5
6
7
 # If using GitLab, specify like the following:
 gitlab:
   user: jjikin
   token: glpat-****_**************
   secret: ********************************
 # GitLab Enterprise only: # 주석 처리 필요
   hostname: https://gitlab.jjikin.com
- Atlantis에 로그인하기 위한 계정 정보를 설정합니다.
1
2
3
 basicAuth: # atlantis account info
   username: "atlantis"
   password: "atlantis"
- ingress 설정
Atlantis만을 위한 별도의 ALB 생성은 불필요하므로, 내부 서비스sockshop생성 시 같이 생성했던 ALB를 사용합니다.1 2 3 4 5 6 7 8 9 10 11 12 13 14 15 16 17 18 19 20 21 22 23 24 25
ingress: enabled: true ingressClassName: alb annotations: alb.ingress.kubernetes.io/scheme: internet-facing alb.ingress.kubernetes.io/group.name: devops-pub-alb # IngressGroups ALB 공유 alb.ingress.kubernetes.io/target-type: instance alb.ingress.kubernetes.io/listen-ports: '[{"HTTP": 80}, {"HTTPS":443}]' alb.ingress.kubernetes.io/ssl-redirect: '443' host: atlantis.jjikin.com ## in case we need several hosts: hosts: # - host: chart-example.local # paths: ["/"] # service: chart-example1 # - host: chart-example.local2 # service: chart-example1 # paths: ["/lala"] tls: [] # - secretName: chart-example-tls # hosts: # - chart-example.local labels: {}
- PV 설정
Atlanstis는Terraform init실행 시 필요한 Module을 PV에 저장합니다. 모듈 용량이 클 경우 용량 부족으로 에러가 발생할 수 있으므로 디스크 용량을 적절하게 부여해야합니다.1 2 3 4 5
volumeClaim: enabled: true ## Disk space for to check out repositories dataStorage: 20Gi storageClassName: gp2
- ServiceAccount 설정
1
2
3
4
5
6
serviceAccount:
  create: true
  mount: true
  name: runatlantis
  annotations:
    eks.amazonaws.com/role-arn: "arn:aws:iam::111111111111:role/devops-atlantis-role" # 직접 설정 필요
- Webhook를 허용할 리포지토리를 입력합니다.
Atlantis 파드가 Terraform Code를 통해 Plan/Apply하기 위해서는 IRSA가 필요합니다.
하지만terraform-aws-modules-iam모듈에서 지원하지 않으므로 직접 Role을 생성하도록 추가해야 합니다.1 2 3 4 5 6 7 8 9 10 11
# main.tf ... locals { name = "devops" ... eks_oidc_provider = module.eks.oidc_provider # 추가 eks_oidc_provider_arn = module.eks.oidc_provider_arn # 추가 tags = { CreatedBy = "Terraform" } }
1
2
3
4
5
6
7
8
9
10
11
12
13
14
15
16
17
18
19
20
21
22
23
24
25
26
27
28
29
30
31
32
33
# eks.tf
...
resource "aws_iam_role" "atlantis-irsa_role" {
  name =  "${local.name}-eks-atlantis-role"
  path = "/"
  assume_role_policy = <<EOF
  {
    "Version": "2012-10-17",
    "Statement": [
      {
        "Effect": "Allow",
        "Principal": {
          "Federated": "${local.eks_oidc_provider_arn}"
      },
        "Action": "sts:AssumeRoleWithWebIdentity",
        "Condition": {
          "StringEquals": {
            "${local.eks_oidc_provider}:sub": "system:serviceaccount:atlantis:runatlantis",
            "${local.eks_oidc_provider}:aud": "sts.amazonaws.com"
          }
        }
      }
    ]
  }
  EOF

  tags = local.tags
}

resource "aws_iam_role_policy_attachment" "atlantis-irsa_role_attachment" {
    role       = aws_iam_role.atlantis-irsa_role.name
    policy_arn = "arn:aws:iam::aws:policy/AdministratorAccess"
}
- 위 사항 외 추가 및 변경할 설정들은 링크를 통해 확인 후 진행합니다.
- Helm을 통해 Atlantis를 배포합니다.
1
2
   kubectl create namespace atlantis
   helm install atlantis runatlantis/atlantis -f atlantis_values.yaml -n atlantis
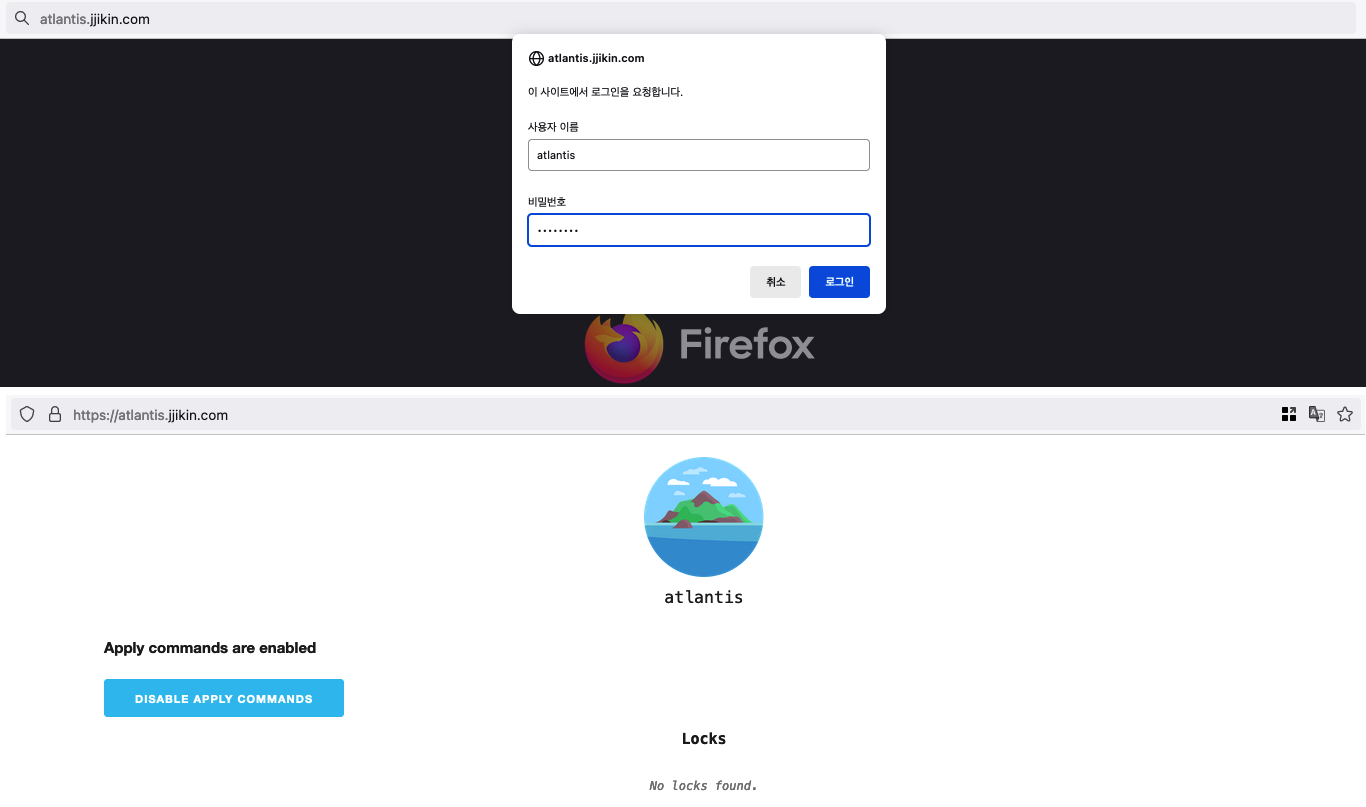
생성한 도메인 주소와 계정 정보로 Atlantis Web에 접속합니다.
![image-20230722144951759]()
Terraform Code 업로드
상태 파일 및 관리를 위한 backend 리소스에 대한 상태는 로컬에 정의되어있으며, 내부 서비스인 sockshop의 경우에도 추후 포스팅할 ArgoCD를 통해 배포 및 관리할 예정이므로 업로드에서 제외합니다.
따라서 여기서는 infra 리소스만 업로드합니다.
GitLab 구성 시 생성한 Repository에는 아직 아무 코드도 없으므로, 이전 포스팅을 통해 작성했던 Terraform Code를 업로드 합니다.
업로드 전 필요없는 파일은
.gitignore을 통해 제외합니다.1 2 3
.DS_Store # macOS 디렉터리 메타데이터 관련 파일 .terraform # 로컬에 저장된 모듈을 포함한 Terraform 리소스의 경우 Atlantis PV에 다운받아 사용하므로 업로드 불필요 .terraform.lock.hcl
git push
1
2
3
4
5
6
7
8
9
10
# Terraform Code가 존재하는 디렉토리로 이동
cd ~/Documents/Study/devops-study/v3(gitlab+atlantis)/infra

git init
git add .
git commit -m 'code upload'
git remote add origin https://gitlab.jjikin.com/jjikin/devops.git
git branch upload
git checkout upload
git push --set-upstream origin upload
다음 포스트 GitLab, Atlantis를 활용한 Terraform GitOps 환경 구축하기(2)에서 이어집니다.